


Stuff to get for doing Home Scrum
Gathering your equipment
You don’t need much to do Home Scrum, and you likely could improvise solutions from what you already have. But you may want a bit more in the way of equipment, and if so, this post is designed to make it as easy as possible to find what you need to get started.
If you are not sure where to start in looking for these items, then you can always use Google Maps to search for a large stationery shop near you (check photos of the shop to see if it is the right type and size of shop, or even ring them in advance to check). If you prefer to do online shopping, then a good approach is to use the Google Shopping search. Once you’ve entered the item you’re searching for in the top bar, then don’t forget to use the filters on the left to narrow it down to the right size, price range, and I like to tick the ‘4 stars and up’ box too to make sure the items have good reviews.
Cork board or whiteboard?
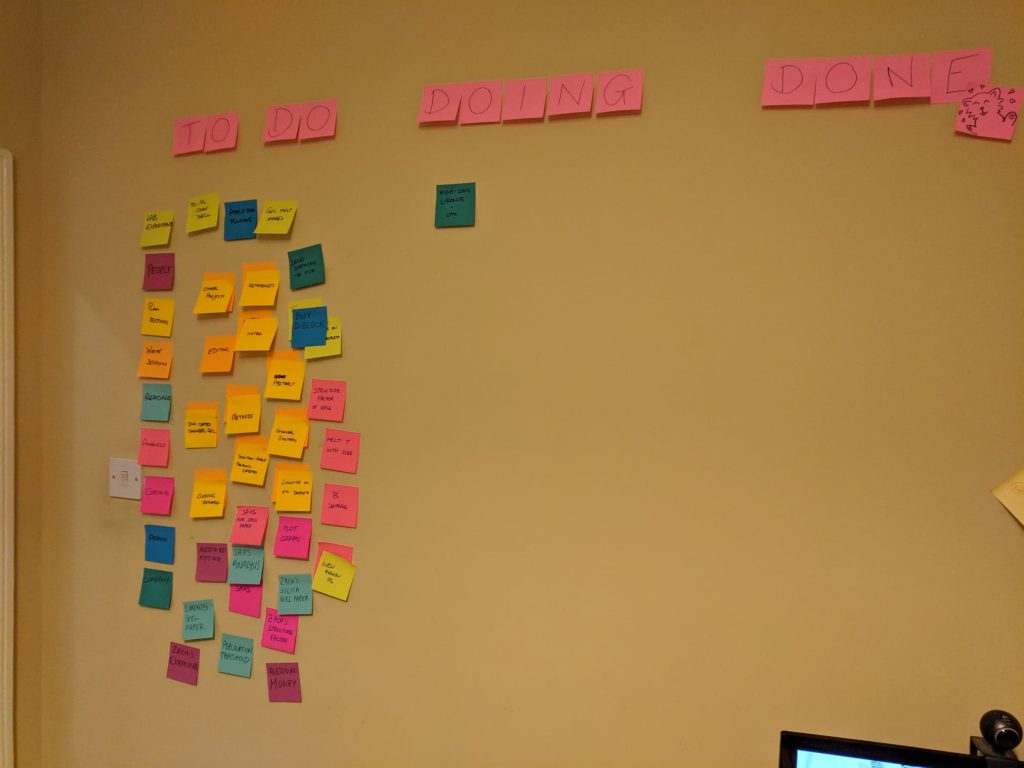
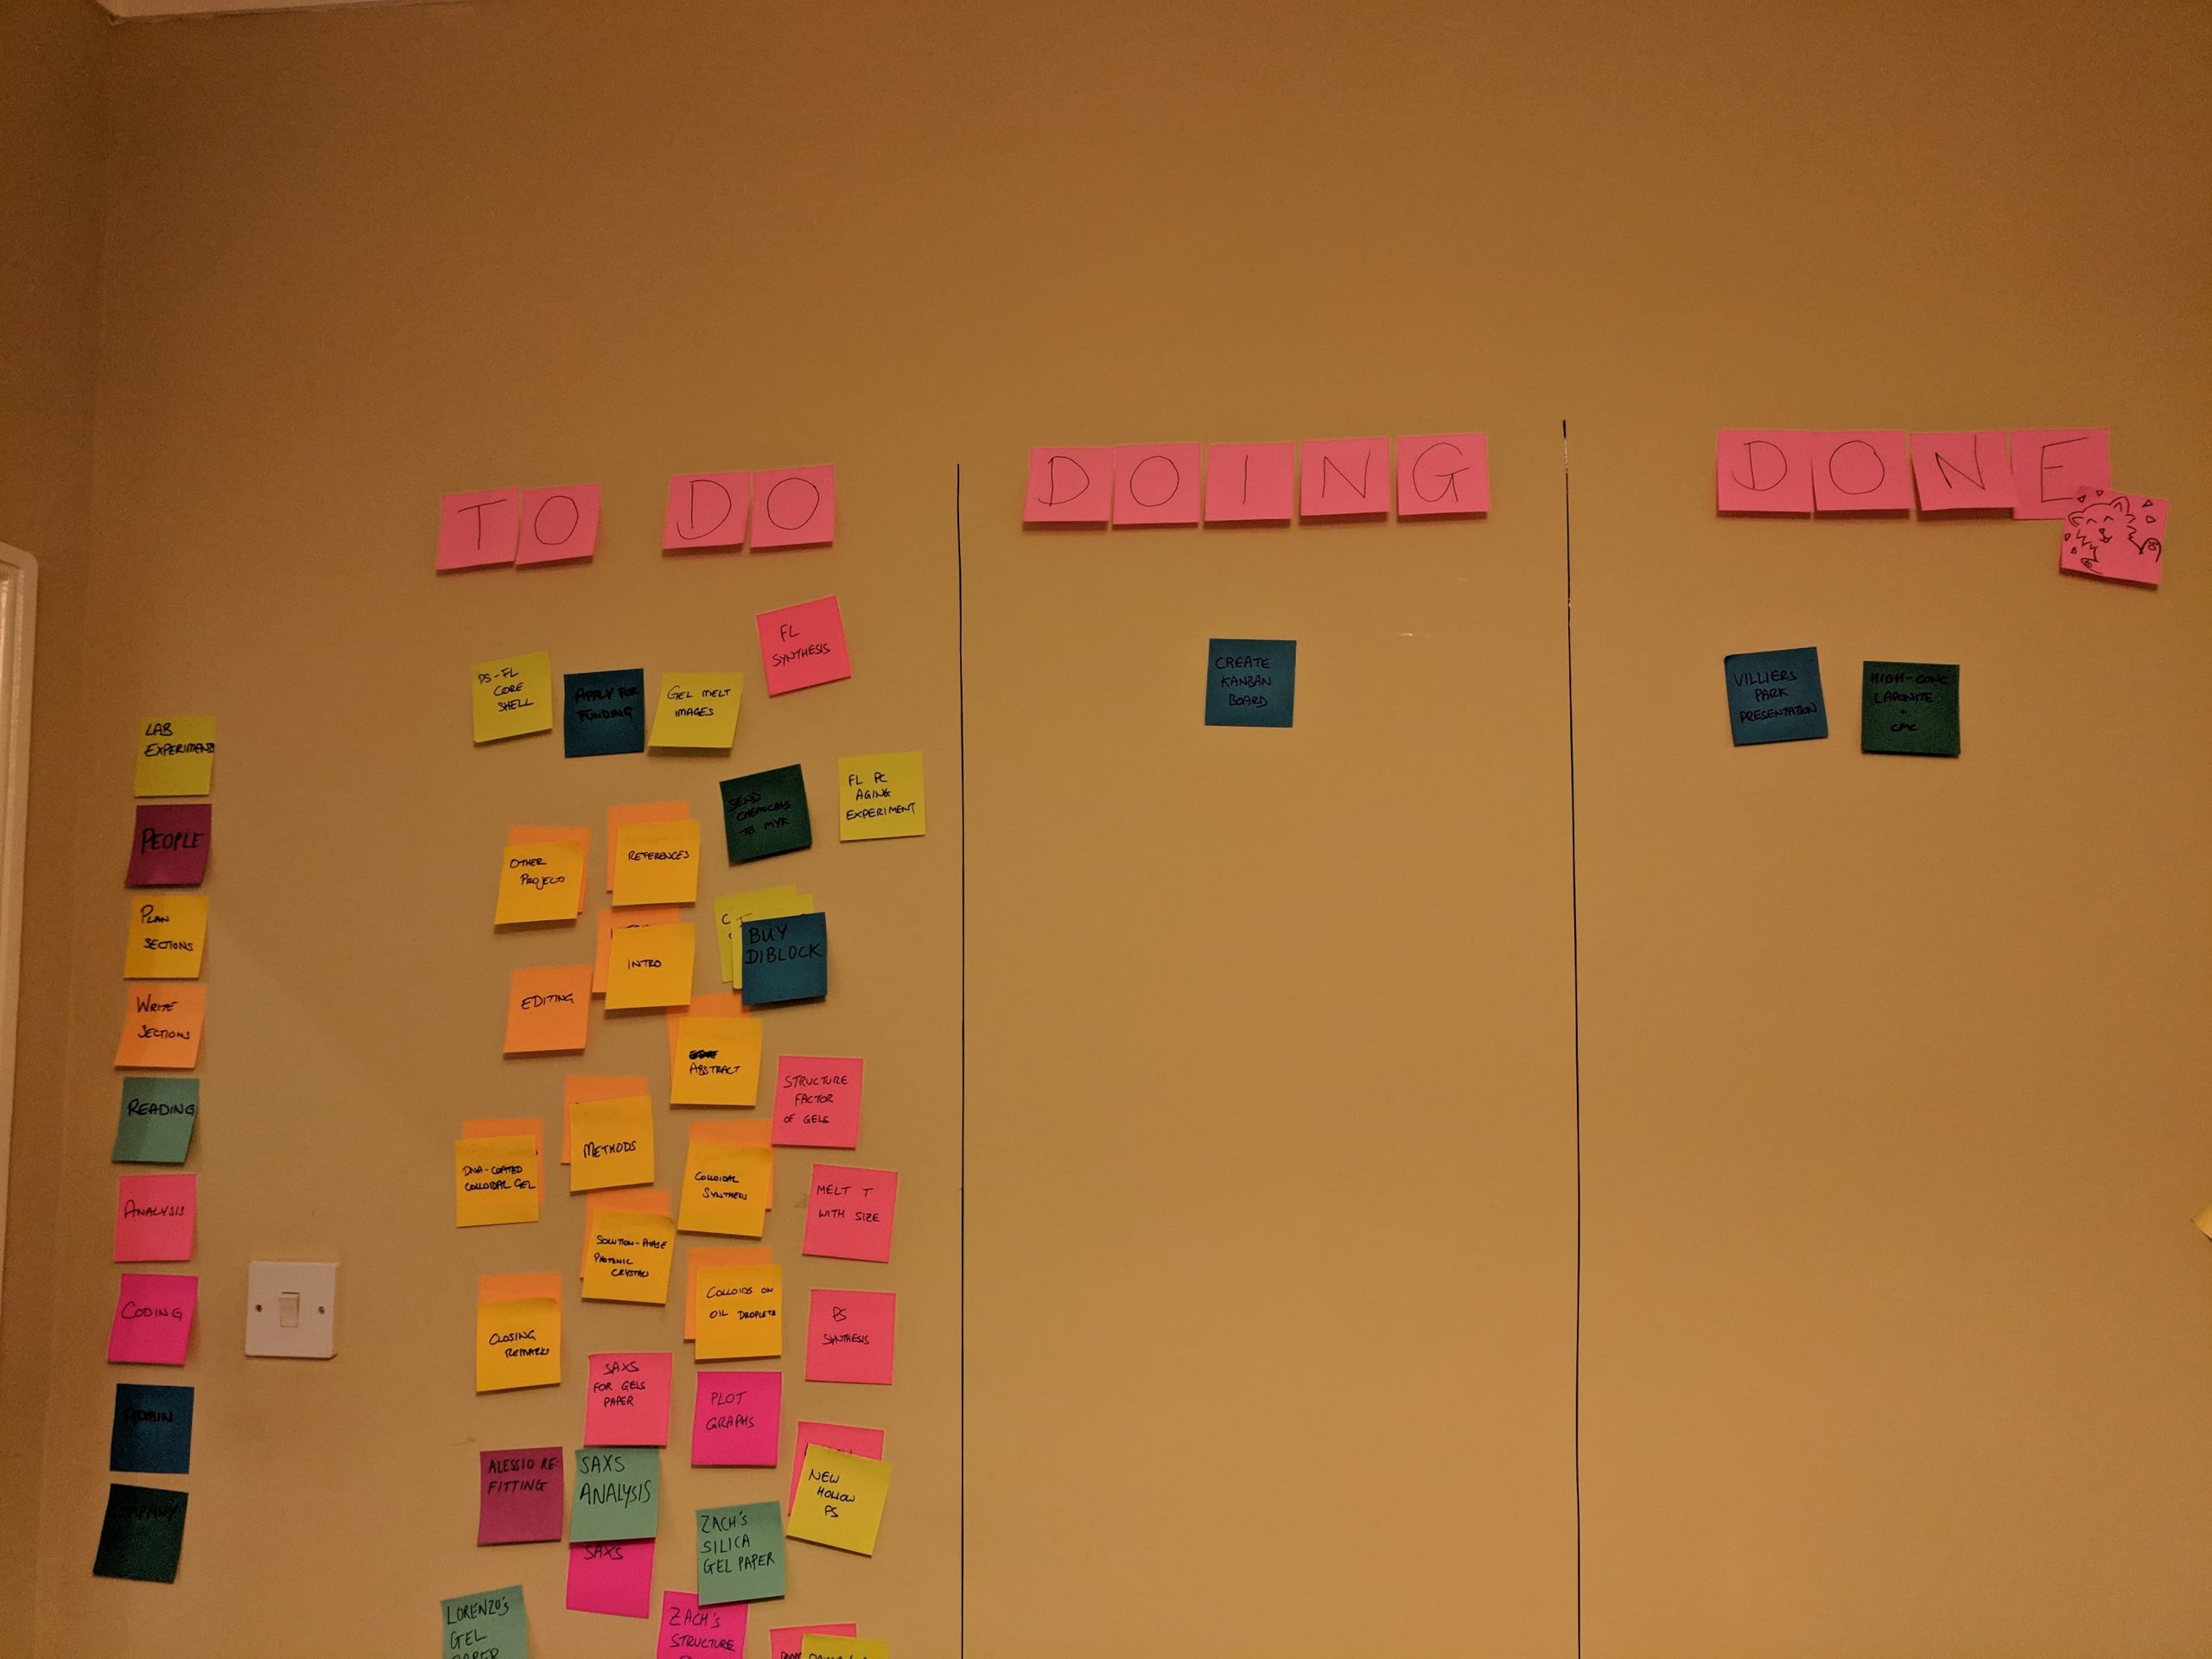
However you construct your Home Scrum board, I would recommend having a space of (at the very minimum) a metre squared. If possible, go larger: ours is now eight feet by four feet, and we manage to fill that whole space with just two people’s tasks (and a huge calendar). Two metres squared will be much more comfortable, even if you have to get creative with the direction of your columns (for instance, if you are using the back of a door, it might make sense to move tasks from the top to the bottom instead of across).
You don’t actually need to get a board at all; you can just use a piece of wall and stick things to it. To add a few lines for columns, you can use ‘gridding tape’ (usually used on whiteboards), or just ‘painter’s tape’ or masking tape to form the columns directly on the wall, as this shouldn’t damage the paint or wallpaper when it comes off again.
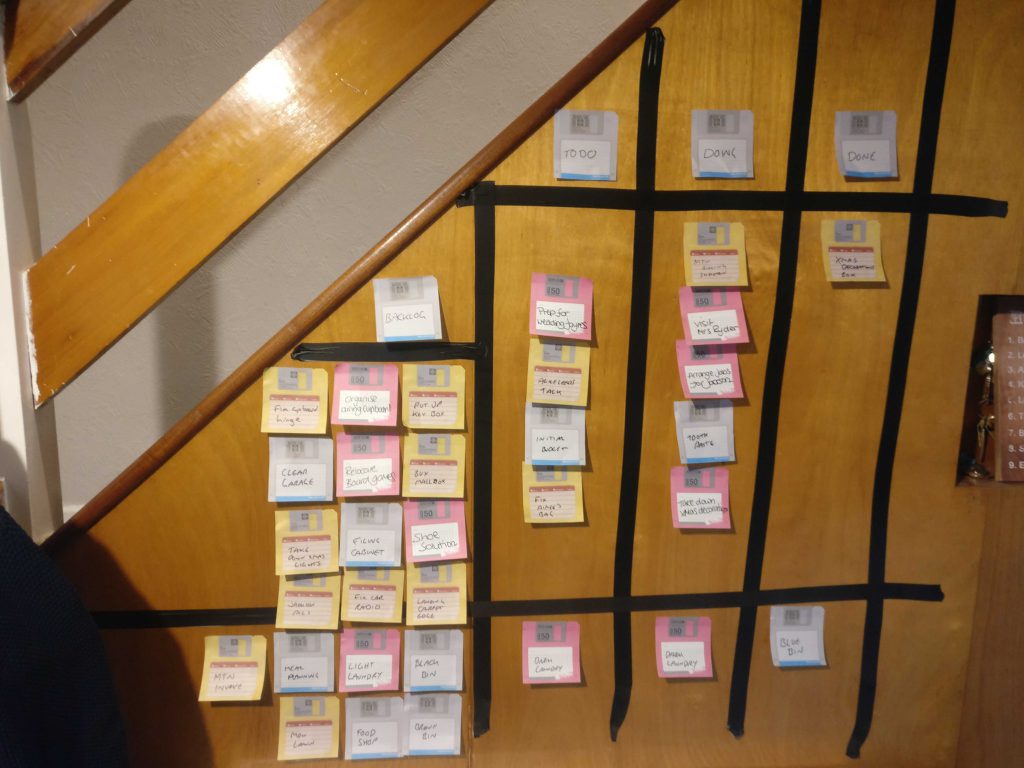
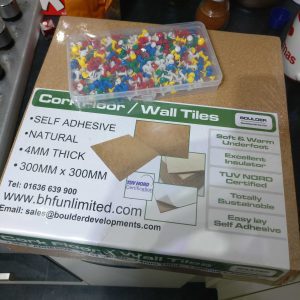
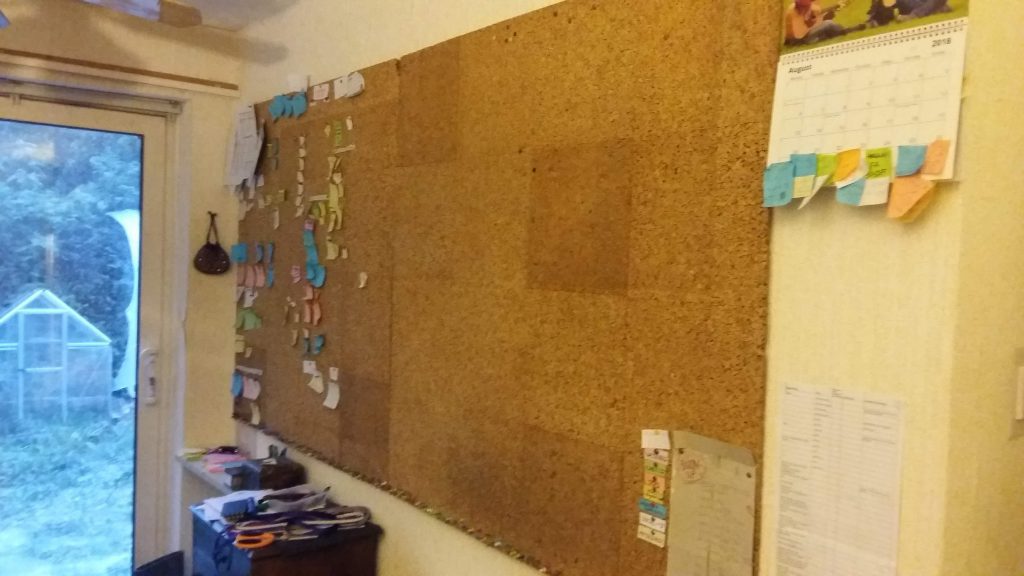
If you do want a board, though, you mainly have the choice between a whiteboard or a cork board. If your wall-space is an unconventional shape, then stick-on cork board tiles might be what you need (try searching for ‘self-adhesive cork notice board tiles’).
If you are looking for a more portable square or rectangular board, you could always get a sheet of plywood and stick those cork tiles to it. My mum actually made the cork boards we use that way, back when she was in university—they’re practically a family heirloom. If that would be an unrealistic amount of work, then buying a large cork board is of course fine too. (Search for ‘cork notice board’.) Make sure the cork layer is not too thin; if it’s only around 4mm thick then your pins will come out of the other side, which could get annoying.
A whiteboard is perhaps a bit more flexible than a cork board, as you can draw columns and so on directly onto it. However, this doesn’t actually provide that much advantage, since you will still be writing all your tasks on separate pieces of paper and sticking them onto the whiteboard.
Remember you’ll also need to have (or borrow) a drill, and buy an appropriate size of screw with an appropriate type of wall-plug to put your board up.
Pins or blu tack?
Next, you’ll need to consider how to attach your tasks to your board. For a cork board, this will mean pins, and for a whiteboard, some kind of adhesive putty like blu tack. (If you’re feeling fancy, you could go for ‘push pin magnets’ to hold your tasks to a magnetic whiteboard, but this will be more costly, so it’s worth trying with blu tack at first to check that Home Scrum is definitely for you.)
Unfortunately, we’ve found that sticky notes like post-its just don’t have the necessary sticking power by themselves, and after the seventh one flutters to the ground, it’ll be more than worth the time it takes to find a pin or add a little blob of blu tack to the back to avoid it falling down.
For pins, we would highly recommend the sort that have a little handle (not flat thumb-tacks; search for ‘push pins’). They are so much easier (and less painful) to take in and out of the board, which you will be doing frequently. Don’t hesitate to buy at least a hundred or so.
Sticky notes or coloured paper?
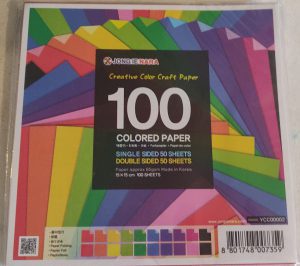
As I said above, sticky notes are not going to solve the how-to-attach-tasks-to-the-wall problem, so you can get by perfectly well with coloured paper instead. Sticky post-it notes are still a convenient option since they already come in a handy size and in multiple colours, so if you want you can still use them. (We want several colours to represent tasks in different life categories.)
We use coloured origami paper, which comes in 15cm squares, which we then cut into four. These actually come in more colours than we need, though (especially considering they have different colours on each side), so you can keep things simpler and potentially cheaper by just searching for basic ‘coloured paper’.
Ribbon, tape or strips of paper?
You are also going to need some way of dividing up the columns on your board. You can use tape (such as the painter’s/masking tape mentioned above), or for us on our cork board we use a mixture of ribbon and cut-off strips of old newspaper.
If you’re using a whiteboard, the advantage is that you can draw your columns straight onto the board, and just rub them off and redraw them later if necessary. Don’t forget to get whiteboard markers though. (You won’t need lots of different colours, as colour-coding the tasks by what paper you’re using is plenty to be getting on with.) There is also something called ‘gridding tape’ which looks like a nice way to make neater columns on a whiteboard.
Extra equipment
The basics above should set you up nicely, and you definitely don’t need to buy anything else, but for full disclosure, I will tell you the other ‘supporting’ items we use alongside our board.
Writing tasks down
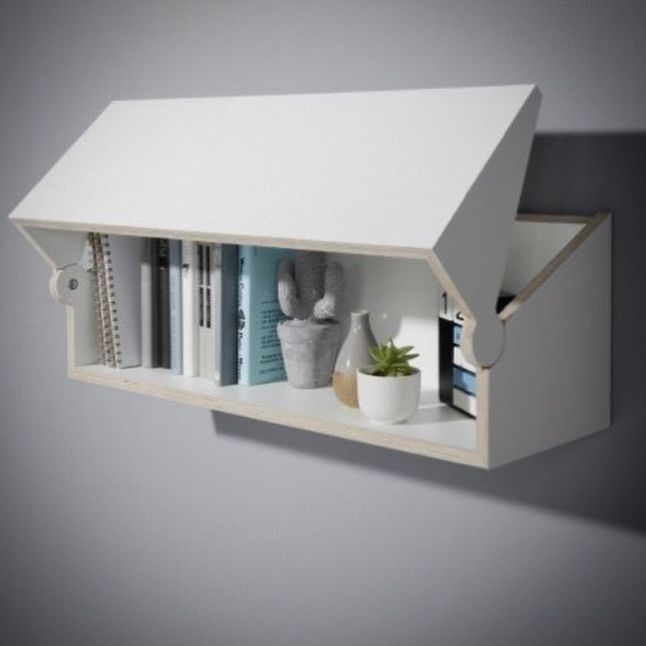
You’ll need somewhere you can write nearby to your board. We have a small shelf attached underneath the board, which provides a flat surface to write tasks on. One day, I’d like to buy or make a custom solution combining a desk and a shelf like this:
But you really, really don’t need anything fancy, especially to start with. If you have no table/shelf nearby to your board, you could hang a clipboard next to it to make writing tasks easier.
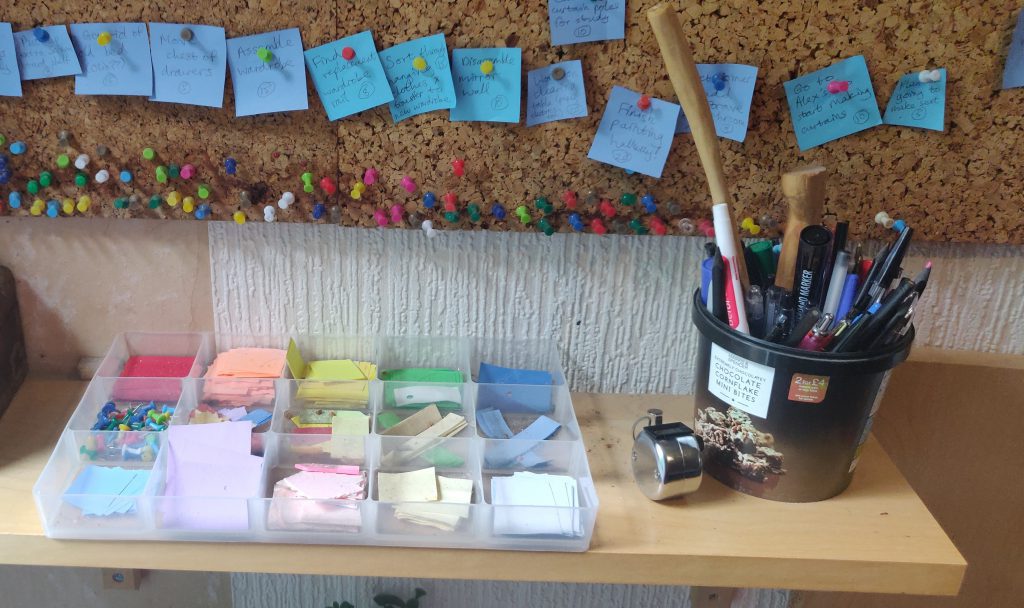
A pen-pot also comes in handy—ours is just an old plastic tub.

We have a shallow, plastic box divided into a dozen compartments to hold the different scraps of paper by colour. Here’s a photo of ours; try searching for ‘compartment tray box organizer’ for a similar one. This gives us a really easy way to grab the right colour paper whenever we think of a new task.
For pens, you can use anything. The only downside to normal pens is that they don’t show up very well from a distance when you just glance up at the tasks on your board, while most markers are too thick to write more than a word or two on a standard sticky note. So if (and only if) you have the spare cash and want a good mix of a thinnish marker pen that should stay readable from a little way away, you could try getting a ‘fine tip permanent marker’.
If you’re like me, your mind might leap to the possibilities of using different colours of pens to colour code your tasks and unlock a greater level of organisation. I would suggest resisting this impulse. You are already going to be colour-coding your life by using different paper colours to represent life categories. Needing to fuss around finding the right colour pen to write down a task adds an extra layer of difficulty that will only hurt your chances of sticking with the system in the long run.
Clicker Counter
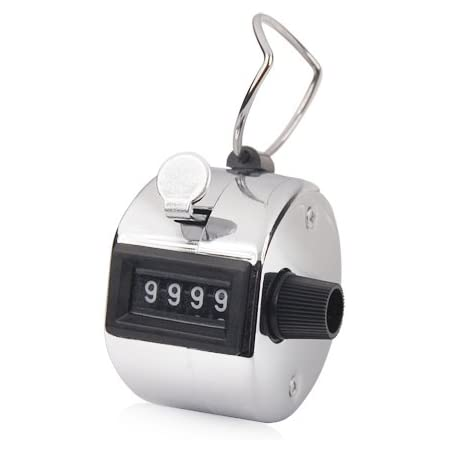
For several years, we counted up our points for each day with slow and laborious mental maths. It’s only addition, but if we were doing our Daily Scrum late at night after a long day, it made our brains hurt. So a recent addition to our system has become a firm favourite: the clicker. (Search for ‘manual tally clicker counter’.) This little thing is not expensive and means that you can just click once per point until you have your total for the day with much less effort and bother. This is now a really fun part of our Daily Scrum rather than a chore.
Notebook
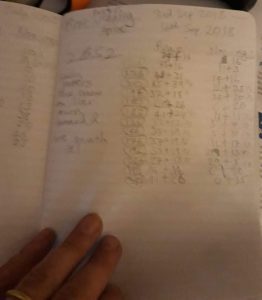
Home Scrum can involve quite a lot of data-tracking if you want it to; things like how many story points you do per sprint, and/or how many tasks you’ve done per sprint. You may also want a place to record ideas for Sprint Retrospective games, or to capture what was discussed at a retro to then decide which ideas to experiment with in the next sprint. Of course, all of this could be recorded on the board, but you will probably soon find that space on the board is at a premium.
I would recommend a notebook for this purpose. I have tried adding spreadsheets into the mix before, as it seems so much more efficient to add any numbers I’m tracking straight into the place those numbers can be analysed, but then the added issue of needing a digital device and finding and opening the spreadsheet every time became too cumbersome. For us it seems much easier to jot things down on paper and then take the notebook to the computer to transfer all the data at once whenever it seems like time to see how we’re doing. In recent years, though, we’ve not done much data-tracking at all, apart from using burn-up charts, so the whole idea of analysing anything is entirely optional and not something to get distracted by.